Navigating international entry requirements is rarely simple, but thorough preparation is the key to a stress-free journey.
Since the pandemic, the Cuban government has phased out paper customs, immigration, and health forms in favor of a digital system. Currently, all travelers must complete the "D’Viajeros" electronic form before arriving in Cuba.
Most importantly: You will not be allowed to board your flight without presenting the QR code generated upon completion of this form. To ensure a smooth departure, please follow our detailed walkthrough on how to obtain this essential entry document.
To make the process as seamless as possible, please have the following information ready:
a) Passport details.
b) e-Visa number (unless you hold a traditional paper tourist visa).
c) Flight numbers for both arrival and departure.
d) The full address of your first place of stay in Cuba.
The electronic entry and exit form is managed on the official D’Viajeros website.
Timing is critical: You can only complete the form within 7 days of your arrival in Cuba. It cannot be submitted earlier. However, do not leave it until the last minute. The website occasionally experiences connectivity issues, so we recommend starting early enough to allow for retries if necessary.
The website usually defaults to Spanish. To switch languages, look for the translation symbol (a globe or flag icon) at the top of the page and select "English" or your preferred language. If the options do not appear immediately, wait a few seconds for the page to fully load.
Click the "Form Request" button to begin.
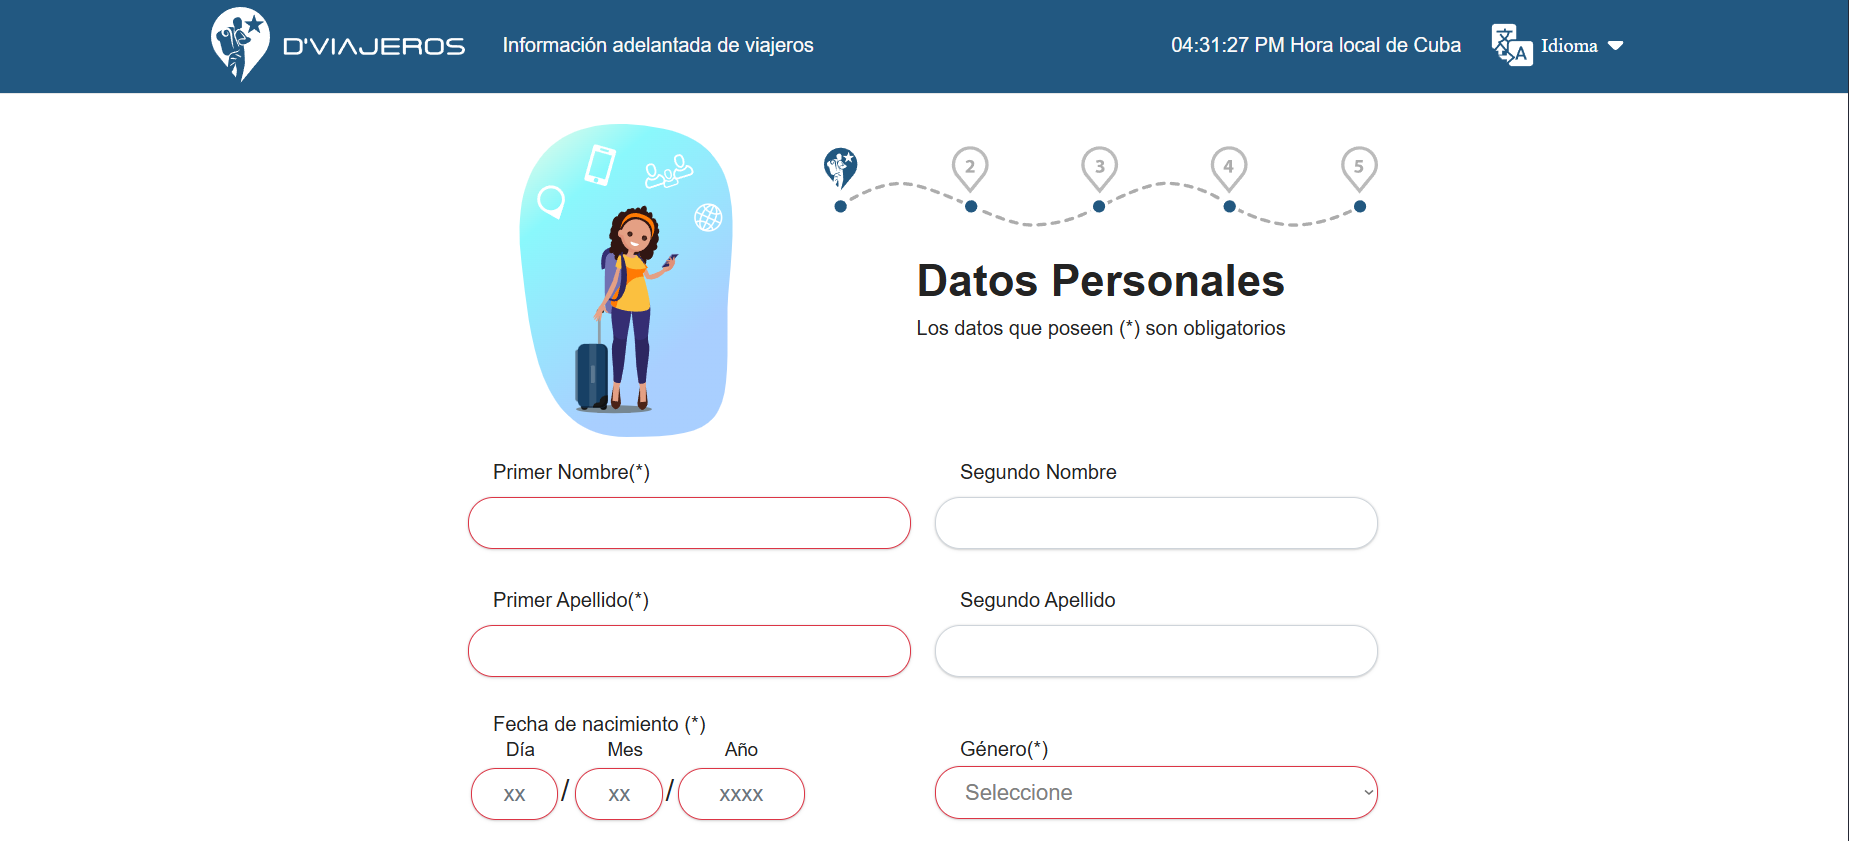
1) Required Fields: Only fields marked with an asterisk (*) or highlighted are mandatory.
2) Date Format: Ensure you enter dates in the Day/Month/Year format.
3) Country Entry: For the United States, enter "USA."
4) Email Address: Even if it is not marked as mandatory in some sections, you must provide a valid email address. The system will send your QR code to this address once the application is complete.
1) Arrival Date: The calendar will only allow you to select a date within 7 days of your arrival.
2) Port of Entry: Select your scheduled arrival airport (most travelers will select "Jose Marti Airport" in Havana).
3) Country of Departure: Enter the country from which your final flight to Cuba departs (e.g., if you live in Australia but fly through Mexico, enter "Mexico").
4) Airline Name: Look carefully for your airline. Some may be listed under a parent company (e.g., LATAM may appear as "LAN Peru").
When asked for the purpose of your trip, select "Tourism."
1) Note for U.S. Citizens: While the U.S. government has specific categories for Cuba travel, this is a Cuban government form. For their records, you are visiting as a "Tourist."
2) e-Visa Number: Once you select "Tourism," a box will appear. Enter your e-Visa number here. If you are using a paper tourist visa (valid until June 30, 2025), leave this field blank.
3) Institution: You may leave this section blank.
This section serves as your health declaration.
1) Vaccines and Testing: Currently, proof of COVID-19 vaccination or test results is not required for entry. However, random testing may be conducted upon arrival at the airport.
2) Accommodations: If staying in a casa particular (private rental/guesthouse), select "House or Room for Rent."
3) Address: Enter the complete address of where you will spend your first night. Common municipalities in Havana include Habana Vieja (Old Havana), Centro Habana, and Plaza de la Revolución.
For most travelers, there are no items to declare.
1) Unaccompanied Baggage: Select "No."
2) Minors: Enter the number of children traveling with you. Note: A separate form must be created for every traveler, but for children under 10, you must also include their passport number on your (the guardian’s) form.
3) Cash: Cash declarations are not required unless the total amount exceeds $5,000 USD.
4) Donations/Gifts: Food, medicine, and other items brought in as gifts generally do not need to be declared.
After reviewing and signing (submitting) your declaration, your QR code will be generated.
1) Verification: Check that the issued code features the official seal and displays your e-Visa number underneath.
2) Saving: While the QR code is sent via email, take a screenshot immediately or print it out. You must be able to present it instantly at the airport, even without an internet connection.